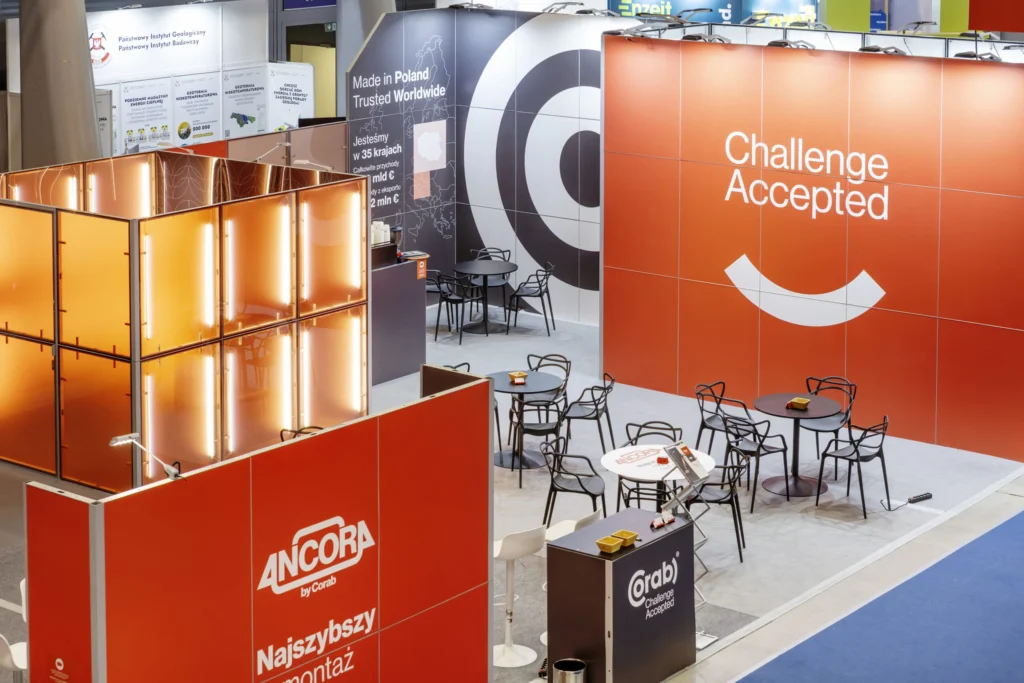
A trade show stand should support sales, guide visitor flow, showcase the company’s offering and build a recognisable brand image—all at the same time. How do you get from the initial idea to a finished stand?
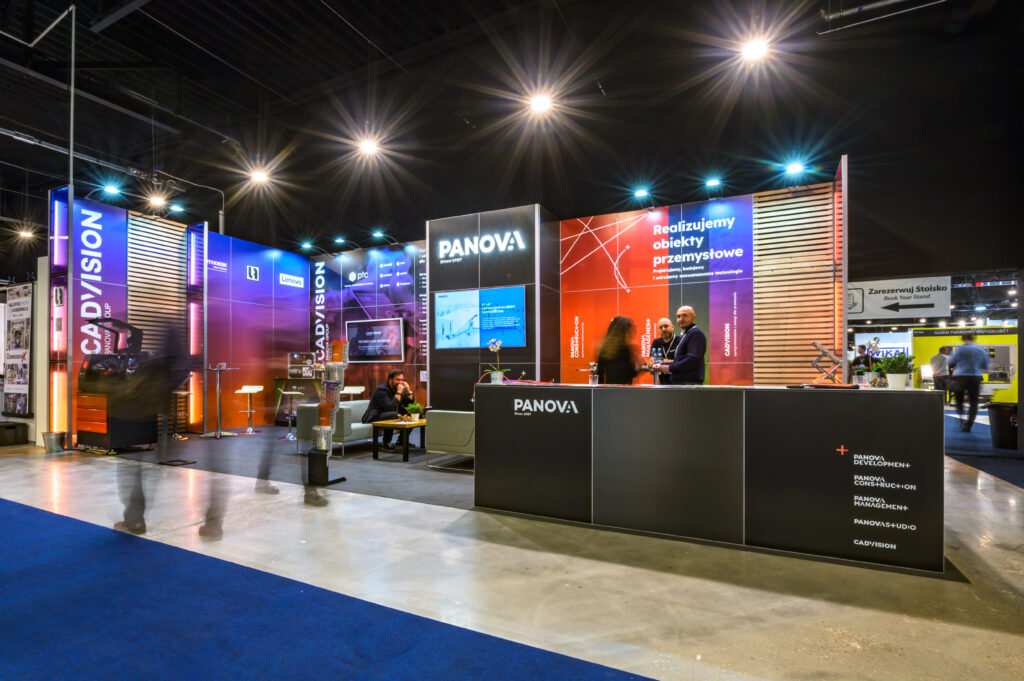
A well-designed stand does not come together only when the installation crew arrives at the exhibition hall. The final result depends on a series of decisions made much earlier: defining the purpose of exhibiting, choosing the layout and construction method, preparing graphics, selecting accessories, arranging transport and completing the final inspection. The better these stages are coordinated, the lower the risk of improvisation, delays and unexpected costs.
How can you organise the preparations, balance functionality with brand identity and avoid costly last-minute changes? Here is the entire process, step by step.
The design process should begin not with a choice of colours or furniture, but with a question: what does the company want to achieve at the event? A stand designed to generate leads requires a different approach from a space built around a product launch or one intended primarily for meetings with customers and partners.
The objective determines the number and type of zones, how open the stand should be, how products are displayed, the need for multimedia and the number of meeting spaces. It should be as specific as possible and linked to measurable outcomes—for example, the number of valuable meetings, product presentations, demo sign-ups or contacts requiring follow-up after the event.
Define the objective and how the team will use the space first; decide on the stand’s form afterwards. Attractive architecture should support the exhibitor’s work, not get in its way.
A good design brief reduces the number of revisions and speeds up the quotation process. It should include not only the stand size, event date and approximate budget, but also details of the allocated space and stand configuration. An inline stand calls for a different approach from a corner, peninsula or island stand.
At this stage, establish how many team members will work on the stand at the same time, which products will be displayed and whether you need lockable storage, a back-of-house area, a reception counter, a meeting zone or a space for recording content. Requirements for screens and lighting also matter. It is worth attaching your brand guidelines, examples of previous stands and a list of elements you want to retain or recreate in the new design.
Every event has its own technical regulations. Before design work begins, check the maximum permitted stand height. Verifying this early helps avoid a situation in which a finished concept has to be substantially revised to meet formal requirements.
Technical restrictions do not necessarily mean abandoning an ambitious idea. When considered from the outset, they become part of the design brief and help shape the stand’s proportions, visibility and layout.
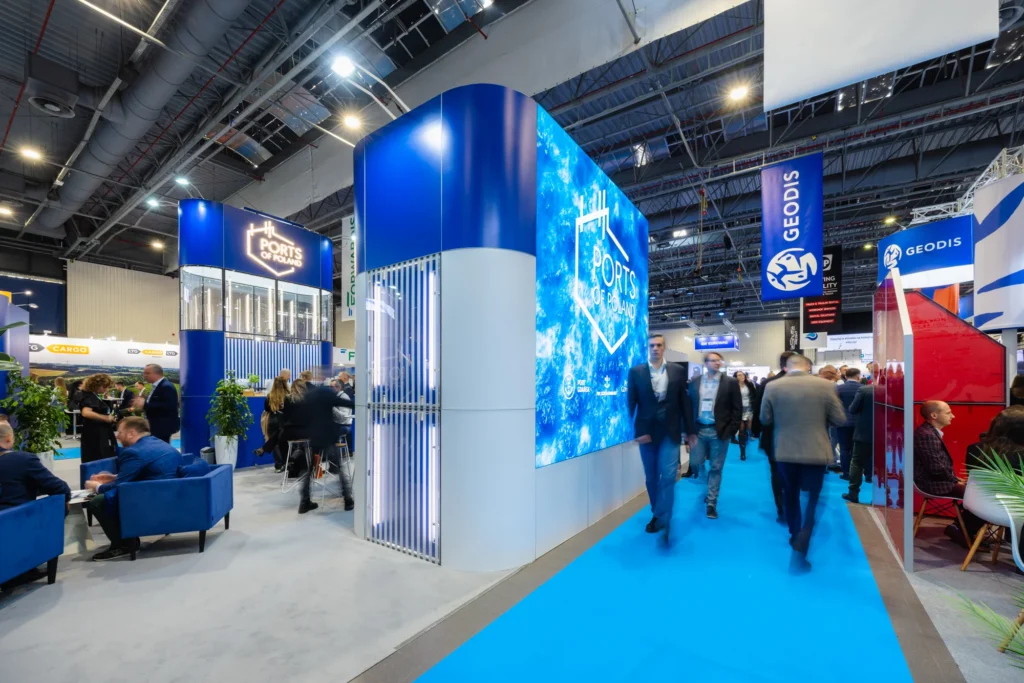
Once the requirements are clear, they can be translated into a stand floor plan. The designer allocates space to individual functions and defines the main routes through the stand. The key is balance: the stand should be visible and welcoming while giving the team suitable conditions for working, storing materials and holding conversations.
Entrance and first impression
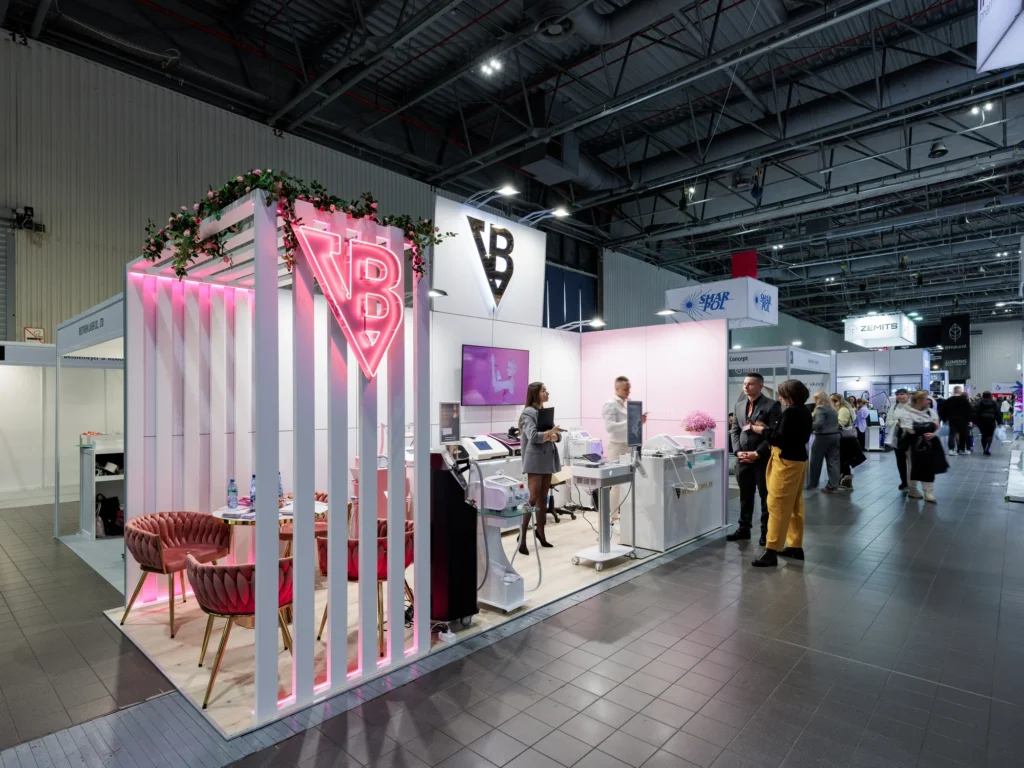
Visitors should be able to recognise the brand quickly and understand what it offers. Place the main message, logo and most important product where they will be visible to people approaching from the busiest direction. A reception counter does not always have to stand right at the edge of the space—placed too close to the aisle, it may create a barrier rather than an invitation.
Display and interaction
Products should be clearly visible, easy to access and arranged in a way that naturally leads visitors through the stand. Leave enough space for people to view, test or watch a demonstration without blocking the main circulation routes. Multimedia and interactive features should support the product presentation rather than compete with it for attention. Plan their placement so that visitors gathering around them do not obstruct access to other zones.
Meetings and back-of-house space
Freestanding tables work well for brief conversations, while more important meetings may require a more sheltered area. The back-of-house space should hold marketing materials and the team’s personal belongings, but should not take up floor area needed by visitors. Size it according to actual requirements, not simply according to what was used at previous events.
The construction method affects the stand’s appearance, lead time, assembly process, transport costs and potential for reuse. A traditional custom-built stand offers considerable freedom of form, but after the event a significant proportion of its materials may not be suitable for reuse. This can make the marketing budget less efficient.
Modular solutions are based on standardised components that can be combined in different configurations.
A modular trade show stand is particularly useful when a company exhibits at several events each year, books stands of different sizes or regularly updates its messaging. The same structural components can form new layouts, while the graphics, furnishings and overall arrangement change. This does not mean every stand has to look the same: its character is shaped by its proportions, colours, lighting, finishing materials and choice of accessories.
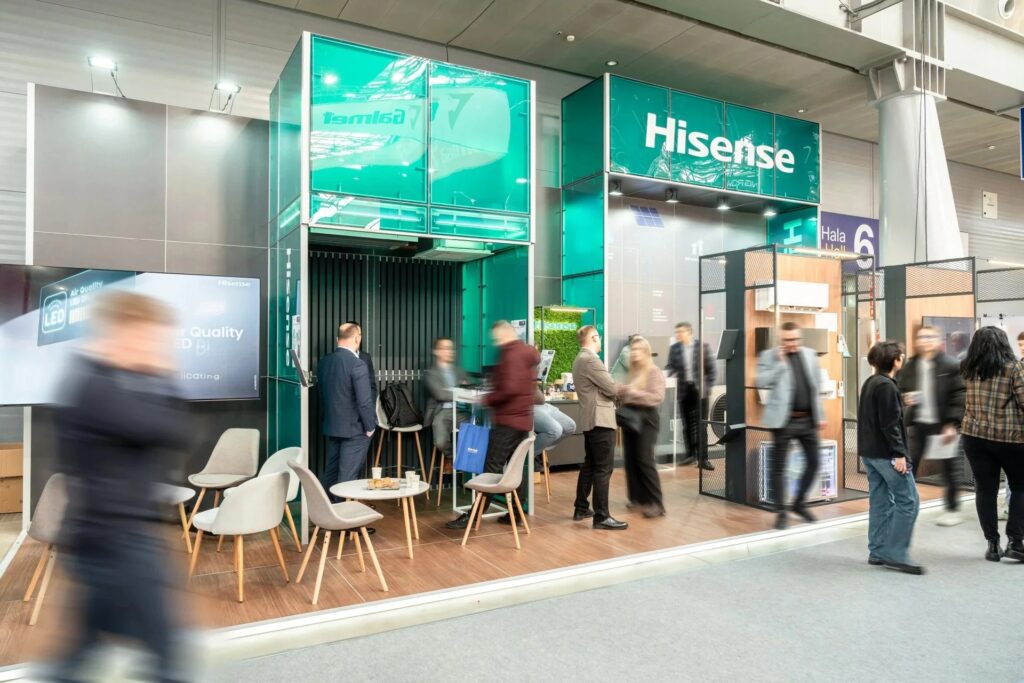
A 3D visualisation helps assess the stand’s proportions, the visibility of its signage and the relationships between its different zones. It should not, however, be treated solely as an attractive image. It is a tool for checking whether the design meets the brief and will work in the real exhibition hall.
When evaluating the concept, view the stand from several directions. Check whether key messages will remain visible above visitor traffic, whether screens are accessible and whether walkways are wide enough. Make sure decorative elements do not hide the products and furniture does not obstruct circulation. This is the best time to make major changes. Once the technical documentation has been approved and production has begun, every revision may bring additional costs, delays or compromises in quality.
Visitors see stand graphics while moving, often from several or even a dozen metres away. They should therefore not resemble a detailed brochure. A clear hierarchy, short message, prominent logo and imagery that reinforces the message are the priorities. More detailed information can be presented on a screen, in a catalogue, through a QR code or in materials handed out during conversations.
It is especially important to check the artwork and ensure it is prepared for its final dimensions on the stand. A file that looks fine on a monitor may not have sufficient resolution for large-format printing.
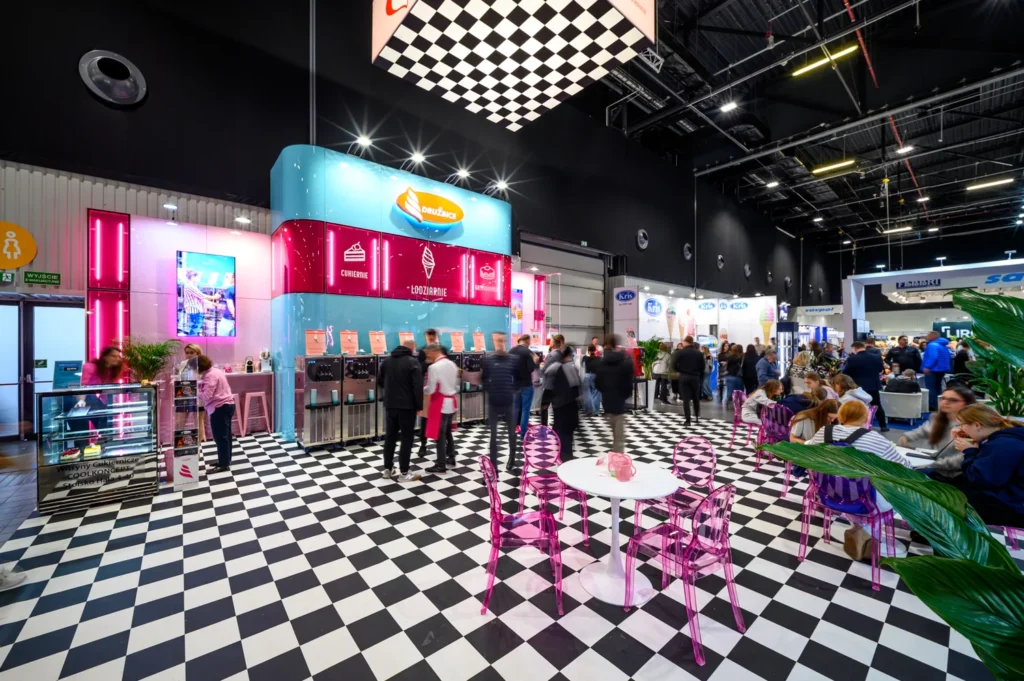
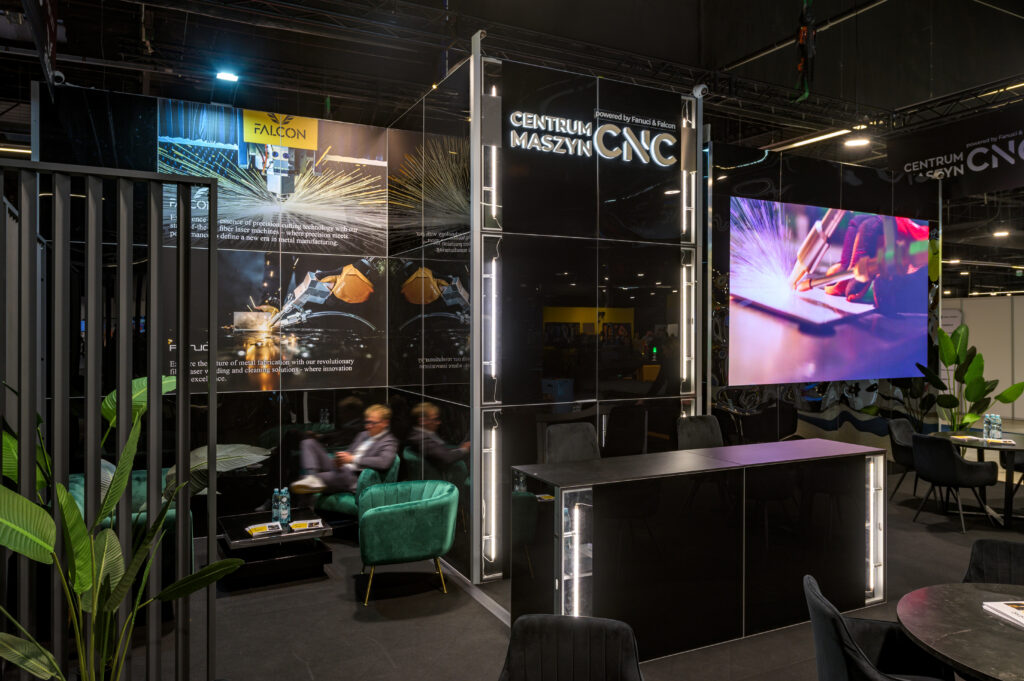
Lighting does more than make the stand visible: it also creates atmosphere and establishes a hierarchy within the display. General lighting should illuminate the space evenly, while accent lighting can draw attention to a product, graphic or architectural detail.
Position screens at an appropriate height and away from places where they will constantly be blocked from view. Plan cable routing, power supply and maintenance access. Promotional video content should also suit trade show conditions: it should work without sound or include subtitles, communicate its main point quickly and play well on a loop.
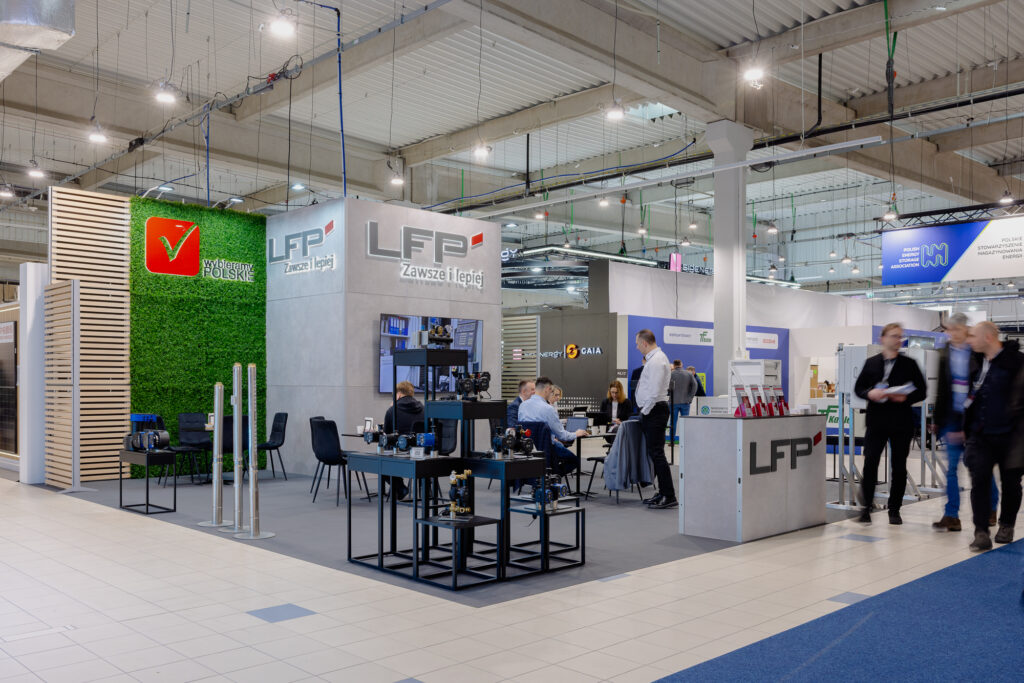
Furniture, counters, shelves, display units—such as those offered by HELO FORM—and plants should form a coherent whole with the stand. The number of items should reflect how the space will actually be used. Too many furnishings reduce the available floor area and make it harder to move around freely.
Once the concept is approved, detailed technical documentation is prepared. It specifies dimensions, materials and the requirements for graphic elements and furnishings. This provides the basis for the final quotation and production schedule.
The quotation should clearly distinguish between purchased and rented elements and itemise transport, assembly and dismantling. This makes it easier to assess not only the cost of a single event, but also the stand’s total cost of ownership over a longer period.
The schedule should include deadlines for design approval, artwork delivery, production, ordering technical services, delivery to the venue and installation. In practice, delayed decisions and late materials are often what leave too little time for quality checks.
The structural and finishing components are made during the production stage. For more complex projects, a trial assembly—or at least a test fit of the key sections—is advisable. This makes it possible to check that components fit together, confirm that nothing is missing, inspect print quality and test the lighting and multimedia.
Every component should be labelled and packed to make on-site assembly easier. Good documentation, numbering and logically organised packages speed up the installation crew’s work and reduce the risk of mistakes, especially when access to the hall is limited to specific hours.
Logistics planning must account for vehicle access times, unloading arrangements, passes, permitted vehicle types and the route from the loading entrance to the stand location. At some venues, certain tasks and services may only be carried out by contractors appointed by the organiser. Confirm these rules well in advance.
Depending on the construction method, stand size and venue conditions, assembly may take anything from a few hours to several days. With modular systems such as Clever Frame, the exhibitor’s own team can assemble the stand. Installation is quick, intuitive and requires no tools. For large structures, complex installations or tight schedules, it is safer to entrust the work to a technical crew.
The final inspection should involve more than comparing the stand with its visualisation. Check that the graphics are correctly positioned and that every light and screen works. Confirm that all furnishings are present, surfaces are clean and any elements that may need attention during the event are accessible.
The team should know where the main connections are, how to start the multimedia equipment and what to do in the event of a minor fault. It is also good practice to appoint someone to liaise with technical support. A short briefing before the event opens can prevent unnecessary stress and help the team get the stand ready to welcome visitors.
The process does not end when the last visitor leaves. Dismantling should be planned as carefully as assembly: protect the graphics, pack the components and separate items intended for storage from those that will be disposed of or passed on.
If the stand will be used at future events, make a note of possible improvements as soon as it returns. Before the next trade show, you can change the layout, replace selected graphics, add accessories or extend the exhibition system. The original investment then becomes the foundation for future stands instead of tying the company to a single design.
Starting the project too late
A compressed schedule leaves less time to compare concepts, make revisions and refine the details.
Failing to define a clear objective
The stand may look impressive but lack the space needed for presentations, conversations and the team’s day-to-day work.
Overloading the stand with messages
Too much text and too many graphics make it difficult for visitors to identify the most important information in just a few seconds.
Ignoring venue regulations
This can lead to costly design changes, problems during the final inspection or the need to remove certain elements.
Treating logistics as an afterthought
Even a strong design suffers if there is too little time for assembly, testing and adjustments before the event opens.
Designing for only one trade show
If the company exhibits regularly, it is worth considering other stand sizes, layouts and possible updates to its messaging from the outset.
An effective stand is the result of strategy, design, production and logistics working together. Each stage affects the next: an incomplete brief makes design harder, late artwork reduces the time available for production, and poorly defined logistics can put on-time installation at risk. The greatest value therefore comes not from a single striking visual effect, but from a well-managed process.
A modular trade show stand also makes it possible to plan across multiple events. Its structure can change in layout and scale, while the brand refreshes its messaging without starting from scratch each time. This is particularly valuable for companies that want to combine a recognisable identity with flexibility, predictable logistics and control over costs.
Planning to exhibit at a trade show? The Clever Frame team can prepare a free 3D design and adapt the stand configuration to your floor area, event objectives and plans for using the system in the future. Have questions? Get in touch.